How to Hang Moss Wall Art (Picture Guide + Toolkit List)
Moss wall art is lightweight, easy to install, and ideal for adding natural texture to any space. Whether you’re installing a small framed piece or a large custom panel, hanging it correctly ensures it stays secure and looks professionally placed.
This guide walks you step-by-step through choosing the right hardware, positioning your art, and mounting it safely—with a toolkit list and a picture guide.
🌿 Why Proper Installation Matters
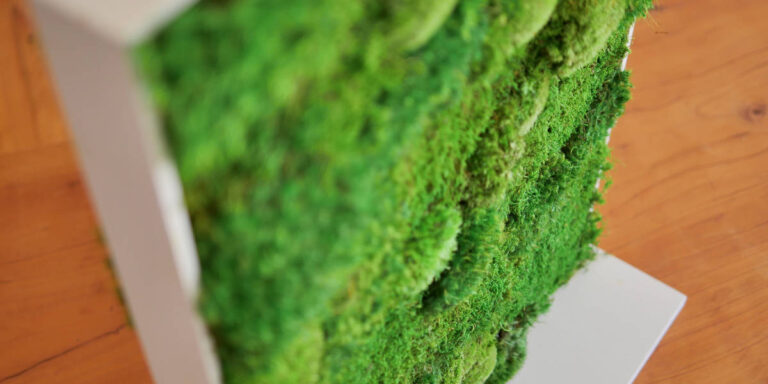
Preserved moss art is delicate on the surface but durable overall. Secure hanging prevents:
- Warping or sagging
- Frame stress
- Accidental drops
- Moisture exposure from touching the wall
Because moss wall art usually includes wood frames, MDF backings, or French cleats, installation is simple but must be done properly.
🧰 Toolkit You’ll Need
Basic Toolkit (for most moss art)
- Tape measure
- Pencil
- Level (or phone leveling app)
- Hammer or drill
- Wall screws
- Anchors (if no stud is available)
- Picture-hanging hooks
- Stud finder (optional but recommended)
For Heavier Moss Panels
- Power drill with Phillips or Torx bits
- Large anchors (50–100 lb rated)
📏 Step-by-Step: How to Hang Moss Wall Art
1. Choose the Right Location
Moss wall art should be placed:
- Away from direct sunlight
- Away from vents or heaters
- On a clean, flat wall surface
- In a room with stable humidity (40–55% ideal)
Avoid hanging near kitchen steam, showers, or outdoors.
2. Measure and Mark the Wall
- Hold the moss piece up to the wall.
- Mark the top center lightly with pencil.
- Flip the art around and measure the distance from the top of the frame to the hanging hardware.
- Transfer that measurement to the wall.
Tip: Use a level to ensure your marks are perfectly horizontal.
3. Install Your Wall Anchors or Hooks
If you’re using picture hooks:
- Tap the hook gently into the wall with a hammer.
- Use two hooks for wide pieces.
If you’re drilling screws into studs:
- Use a stud finder to locate the stud.
- Drill a pilot hole.
- Insert the screw, leaving ½ inch sticking out.
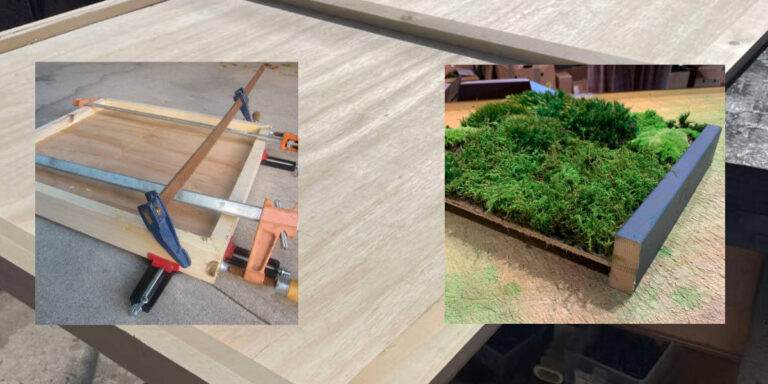
If your art uses a French cleat:
- Hold the wall cleat level and mark the screw points.
- Drill pilot holes.
- Mount the cleat firmly into wall anchors or studs.
- The art cleat slides onto the wall cleat for a secure, flush finish.
4. Hang the Moss Wall Art
- Lift the piece and align it with your hardware.
- Gently lower it into position.
- Step back and check for levelness.
If not perfectly straight, adjust by raising or lowering one side.
5. Final Check
Make sure:
- It sits flat against the wall
- It doesn’t wobble
- The frame is not stressed or bending
- Moss isn’t being compressed by the wall
When properly installed, the piece should feel secure but lightweight.
🔧 Quick Reference: Hanging Methods by Weight
| Moss Art Weight | Recommended Hardware |
|---|---|
| Under 5 lbs | 2″ drywall screws into drywall- one screw |
| 5–15 lbs | 2″ Drywall screws into drywall- two screws |
| 15–40 lbs | 2″ Screws set into the studs- three screws |
| 40+ lbs | Screw directly through the moss artwork into the wall in all four corners. The moss will hide the screwheads. |
Hanging Wabimoss Artwork specifically:
All Wabimoss wall art includes a 1″ lip around the frame on the back side. The frames are strong enough to support the whole artwork, so to hang, just put in two drywall screws into the wall, and set the artwork on them. For large installations, 36″x54″ and larger, we recommend screwing 4 screws near each corner directly through the moss. This sucks the artwork to the wall, and prevents warping. The moss hides the screwheads, and the plywood backer catches the screw heads. Instructions are included in the package.
Recommended Reading:
For a complete overview of moss wall art installation and care, visit our moss wall art guide — click here. You may also want to learn how heavy moss wall art is — click here — and what to expect when moss wall art is shipped — click here.